DAkkS Calibration – What You Should Know
It has never been more important to optimize production processes, improve product quality, and increase plant output than in today's VUCA world. DAkkS calibration is one of the most important keys to achieve these goals. Find out more about DAkkS calibration and its advantages!
Table of content
What is a DAkkS calibration?
The abbreviation DAkkS stands for Deutsche Akkreditierungsstelle GmbH, which is responsible for the accreditation of calibration laboratories in Germany. The colloquial designation "DAkkS calibration" refers to a calibration in which the results are traced back to national standards and international standards. This calibration is carried out by an accredited calibration laboratory. That means that the laboratory works according to defined quality standards and is recognized by the DAkkS.
According to which guidelines is a DAkkS calibration carried out?
Calibration is based on internationally recognized calibration guidelines such as the DKD (German Calibration Service) directive DKD-R 5-1. This way, calibration results are internationally comparable and comply with recognized standards. At the same time, the quality and a metrological traceability are guaranteed.
What is the difference between DAkkS calibration and DKD calibration?
Prior to 2010, calibrations in Germany were carried out in accordance with the specifications of the Deutscher Kalibrierdienst (DKD). With the foundation of the DAkkS, the DKD was integrated into the DAkkS, so that DKD calibration corresponds to today's DAkkS calibration. The two terms are often used interchangeably.
What does DIN EN ISO/IEC 17025:2018 stipulate?
DIN EN ISO/IEC 17025 specifies the requirements for test and calibration laboratories. It covers various areas, including the expertise of employees, the use of suitable test and calibration methods, the traceability of measurements to recognized standards, the control of measurement uncertainties, quality assurance, and the monitoring of measuring devices. It also sets out requirements for the reporting of results, including the presentation of measurement uncertainties and other relevant information.
How does a DAkkS calibration work?
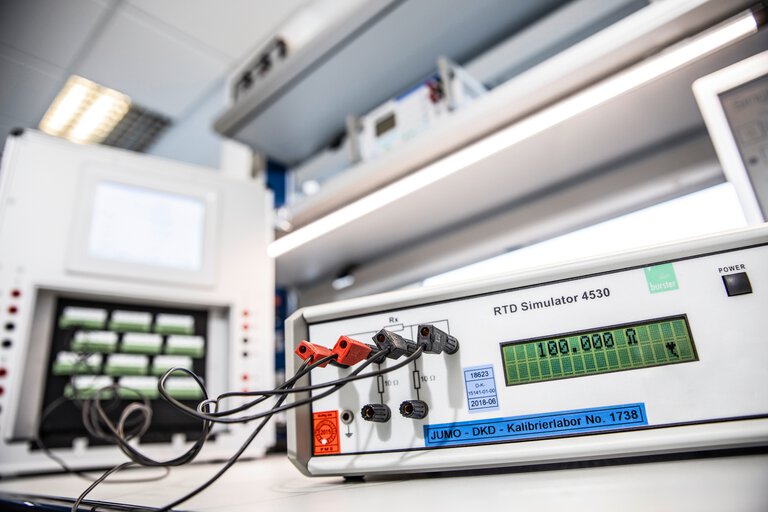
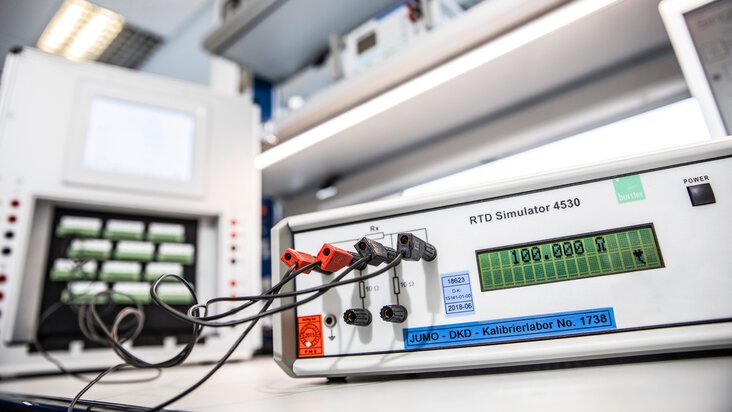
DAkkS calibration is carried out according to standardized calibration procedures and is performed by accredited calibration laboratories. First, the measuring device to be calibrated is examined or assessed for its calibration capability. Calibrations are then carried out using high-precision reference standards. The measured values are compared with the known values of the reference standards and documented.
How are the results of the DAkkS calibration documented?
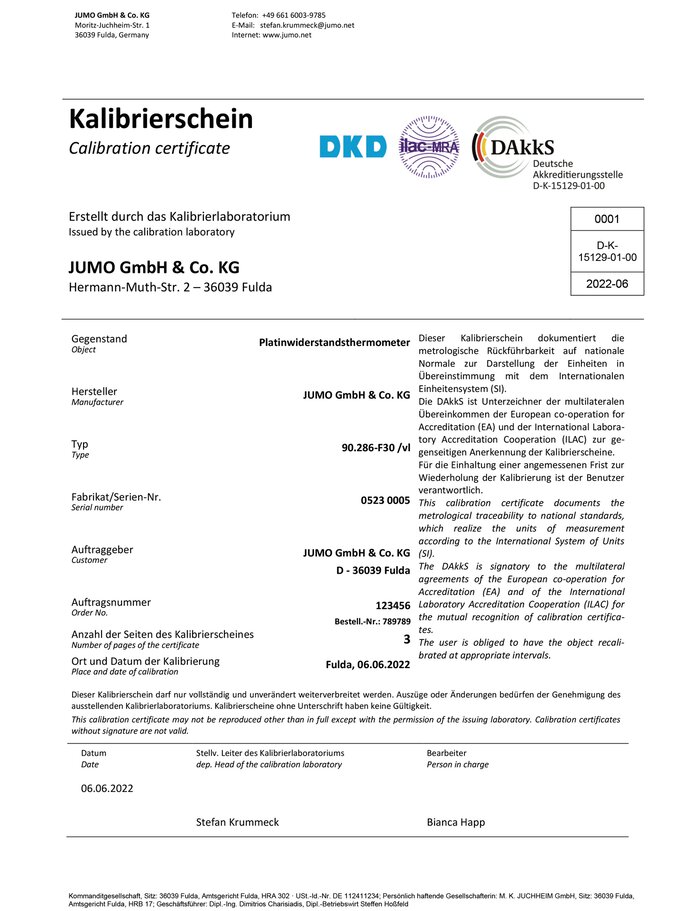
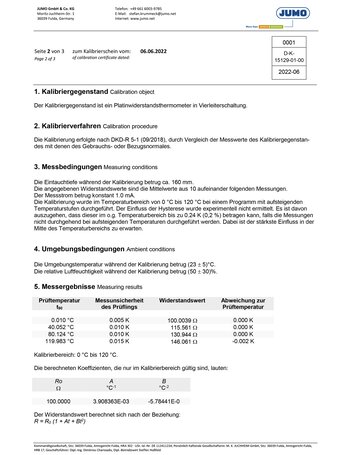
Upon completion of the accredited calibration, device owners receive a calibration certificate. The calibration certificates contain detailed information about the calibrated device, the calibrations performed, and the calibration results. The calibration certificate serves as proof of calibration that is traceable to national standards and can be presented in the event of quality audits or customer inquiries.

Sample calibration certificate DAkkS, page 1

Sample calibration certificate DAkkS, page 2
Are there different DAkkS calibrations?
The requirements for DAkkS calibration can vary depending on the measurand and measuring device. They can also differ in the applied calibration procedures, reference standards, and measurement uncertainties. It is therefore advisable to choose a calibration laboratory that specializes in the corresponding device type.
How often should a DAkkS calibration be carried out?
The frequency of DAkkS calibration depends on various factors such as the requirements of the standards, the manufacturer's specifications, and the specific application conditions of the measuring device. The recalibration period is determined by the user. As a rule, an annual recalibration is initially recommended to ensure that the measuring devices continue to work accurately. It is important that the user knows the history of their measuring device and, if necessary, extends or shortens the recalibration period to ensure that the measuring device also complies with the device specification between the recalibration periods.
Is DAkkS calibration necessary?
In many industries − such as the automotive industry, healthcare, or food production − accurate measurements are crucial. A DAkkS calibration is therefore mandatory. After all, incorrect measurement can lead to quality problems, safety risks, or legal consequences. Calibration by an accredited calibration laboratory ensures that measuring devices comply with the applicable standards and requirements so that they deliver accurate results. If a standard or directive requires "measured values traceable to national standards", DAkkS calibration is always preferable, as a DAkkS calibration certificate, unlike ISO calibration, is already considered proof.
What are the advantages of DAkkS calibration?
Even companies for which DAkkS calibration is not mandatory benefit from the high measurement accuracy of calibration in accordance with DIN EN ISO/IEC 17025. This way, they can achieve their internal and external quality objectives more easily and pass audits more reliably. Additional costs for repeat audits and recalls due to poor quality can be avoided. Accredited calibrations also ensure international recognition.
What is the difference between a DAkkS calibration and an ISO or factory calibration?
In addition to DAkkS calibration, which is considered the highest standard in the calibration of measuring equipment, other options for calibrating measuring devices are available:
ISO calibration
ISO calibration is carried out by specialized calibration laboratories in accordance with the standards of the International Organization for Standardization (ISO). The requirements for quality management systems and technical expertise in calibration laboratories are defined by ISO 9001. This ensures consistent quality and traceability to the so-called original standard. If a DAkkS calibration is not absolutely necessary, not available for the measurand, or not requested for cost reasons, the calibration can therefore also be carried out in accordance with ISO 9001. However, the calibration certificates are not internationally valid.
Factory calibration
Factory calibration or manufacturer calibration is carried out by the manufacturer of the measuring device. The device is calibrated before delivery to the customer to ensure that it meets the stated specifications. The factory calibration can be used as a reference point to check the measurements of the device. However, it should be noted that factory calibration generally does not offer the same traceability to norms and standards as DAkkS calibration.
- ${title}${badge}


